Java is one of the most popular programming languages and JVM (Java virtual machine) is a runtime environment for running Java applications. These two platforms are needed for a lot of popular software that includes Collie cat, Pier, Cassandra, Lasikala, and Jenkins.
In this article, you will learn how to install Java Runtime Environment (JRE) and Java Developer Kit (JDK) using the default apt package manager Ubuntu 20.04 and Ubuntu 18.04.
Default Installing the JRE on Ubuntu
Painless way to install Java is to use the included version Ubuntu archives. By default, Ubuntu compresses OpenJDK 11, which is an open source option JRE and JDK.
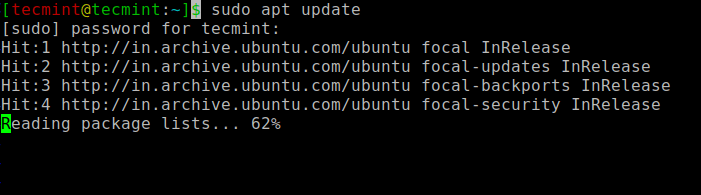
Install the default Open JDK 11, first update the software package directory:
$ sudo apt update
Next, check Java installation on the system.
$ java -version
If Java is not currently installed, you will get the following result.
Command 'java' not found, but can be installed with:

sudo apt install openjdk-11-jre-headless  # version 11.0.10+9-0ubuntu1~20.04, or
sudo apt install default-jre              # version 2:1.11-72
sudo apt install openjdk-8-jre-headless   # version 8u282-b08-0ubuntu1~20.04
sudo apt install openjdk-13-jre-headless  # version 13.0.4+8-1~20.04
sudo apt install openjdk-14-jre-headless  # version 14.0.2+12-1~20.04
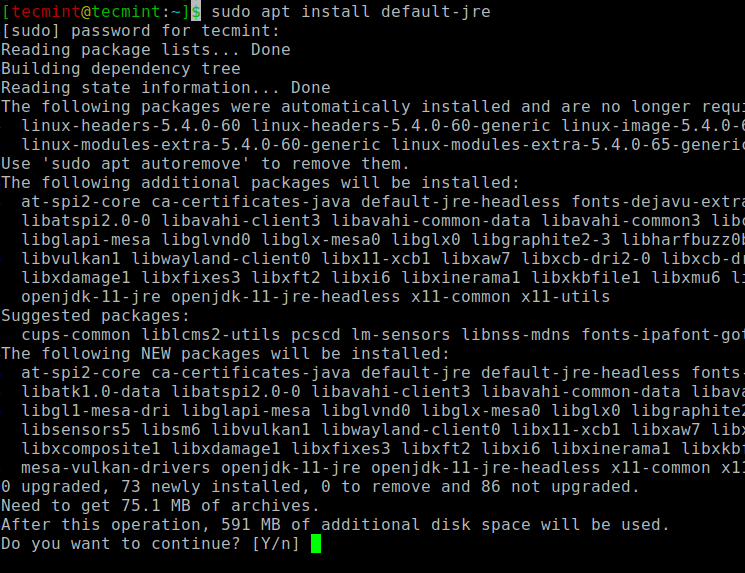
Now install the default by running the following command OpenJDK 11that offers Java Runtime Environment (JRE).
$ sudo apt install default-jre
Once Java is installed, you can confirm the installation:
$ java -version
You get the following result:
openjdk version "11.0.10" 2021-01-19
OpenJDK Runtime Environment (build 11.0.10+9-Ubuntu-0ubuntu1.20.04)
OpenJDK 64-Bit Server VM (build 11.0.10+9-Ubuntu-0ubuntu1.20.04, mixed mode, sharing)
Default Installing the JDK on Ubuntu
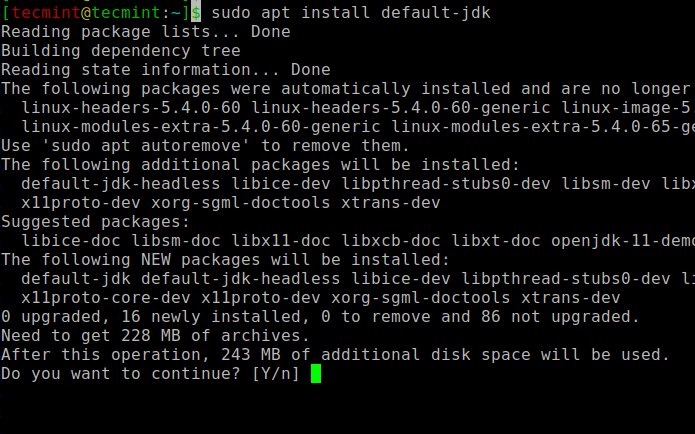
Once JRE installed, you may also need JDK (Java development package) to compile and run a Java-based application. Install JDK, run the following command.
$ sudo apt install default-jdk
Check after installation JDK installation by checking the version as shown.
$ javac -version
You get the following result:
javac 11.0.10
Setting the JAVA_HOME environment variable in Ubuntu
Most Java-based software uses JAVA_HOME environment variable to find the Java installation location.
Set JAVA_HOME Environmental variable, first find out where Java to be installed by running the following command.
$ readlink -f /usr/bin/java
You get the following result:
/usr/lib/jvm/java-11-openjdk-amd64/bin/java
Then open / etc / environment file with nanotext editor:
$ sudo nano /etc/environment
Add the following line to the end of the file, be sure to replace the location of the Java installation path.
JAVA_HOME="/usr/lib/jvm/java-11-openjdk-amd64"
Save the file and reload the file to apply the changes to the current session:
$ source /etc/environment
Make sure the environment variable is set to:
$ echo $JAVA_HOME
You get the following result:
/usr/lib/jvm/java-11-openjdk-amd64
Conclusion
In this tutorial, you will learn how to install Java Runtime Environment (JRE) and Java Developer Kit (JDK) on Ubuntu 20.04 and Ubuntu 18.04.