Jenkins is a leading independent open source automation server used to automate repetitive technical tasks related to software construction, testing, delivery, or deployment.
Jenkins is Java-based and can be installed via Ubuntu packages, the Docker, or by downloading and executing its web application file (WAR) file, which contains all the contents of a web application for execution on a server.
In this article you will learn how to install the Debian package repository Jenkins on Ubuntu 20.04 and Ubuntu 18.04 with apt package manager.
Qualifications
- Minimum 1 Gt RAM for a small group and 4 GB + RAM for production-level Jenkins installation.
- Oracle JDK 11 installed by following the tutorial on installing OpenJDK on Ubuntu 20.04 / 18.04.
Installing Jenkins on Ubuntu
On Ubuntu, you can install Jenkins through default stocks apt but the included version is often behind the latest available version.
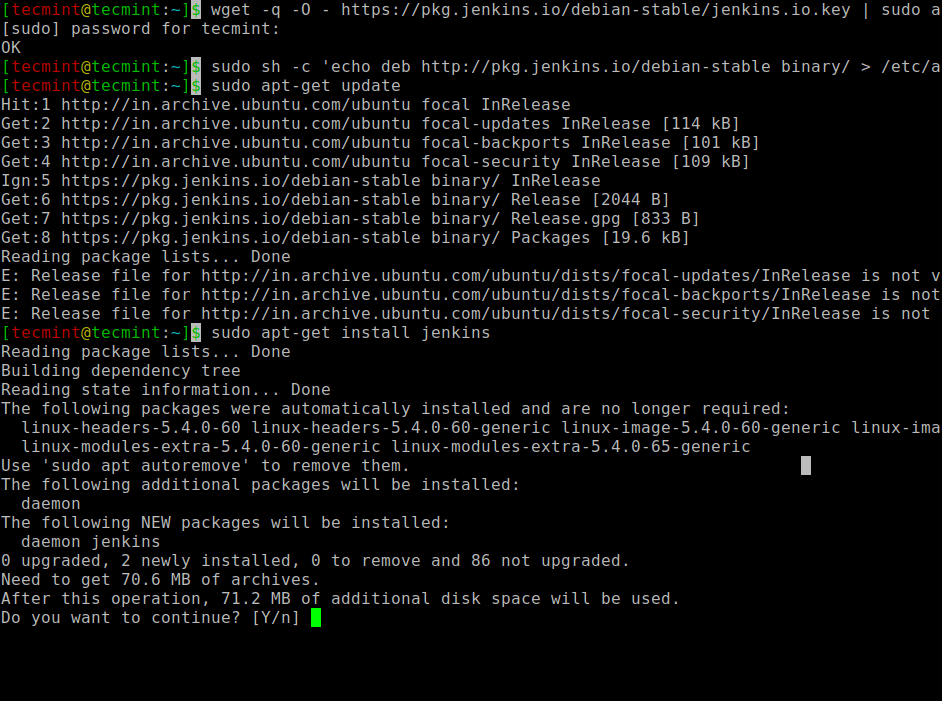
You can take advantage of the latest stable version Jenkins features and fixes, install it with the packages maintained by the project as shown in the figure.
$ wget -q -O - https://pkg.jenkins.io/debian-stable/jenkins.io.key | sudo apt-key add -
$ sudo sh -c 'echo deb http://pkg.jenkins.io/debian-stable binary/ > /etc/apt/sources.list.d/jenkins.list'
$ sudo apt-get update
$ sudo apt-get install jenkins
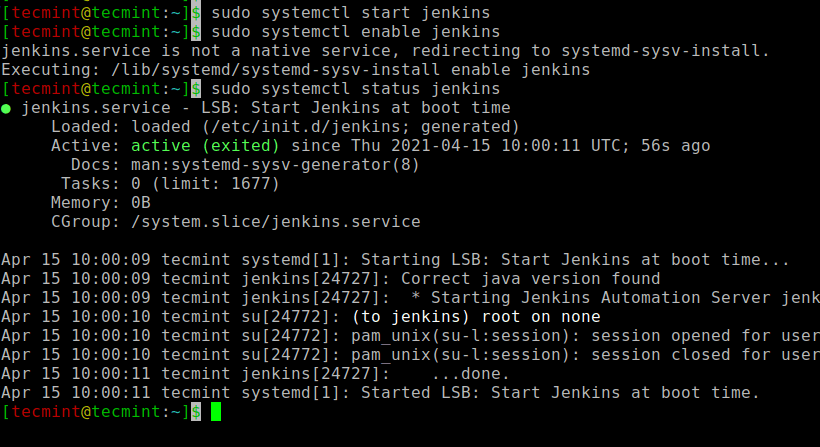
Once Jenkins and its dependencies are installed on the system, you can boot, enable and check the status of the system Jenkins server using systemctl commands.
$ sudo systemctl start jenkins
$ sudo systemctl enable jenkins
$ sudo systemctl status jenkins
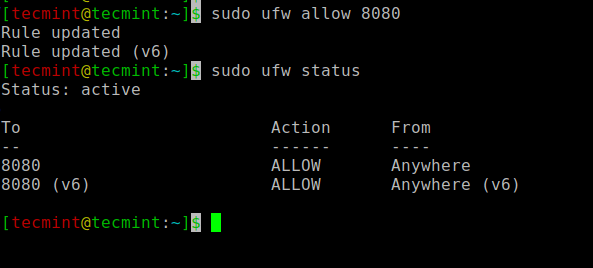
Next, you need to open the default Jenkins to the port 8080 in the ufw firewall as shown.
$ sudo ufw allow 8080
$ sudo ufw status
Now that Jenkins installed and our firewall configured, we can finalize the initial settings via a web browser.
Putting Jenkins on Ubuntu
Finish Jenkins installation, visit Jenkins configuration page in its default port 8080 to the following address.
http://your_server_ip_or_domain:8080
You should see Open Jenkins screen showing the location of the original password:
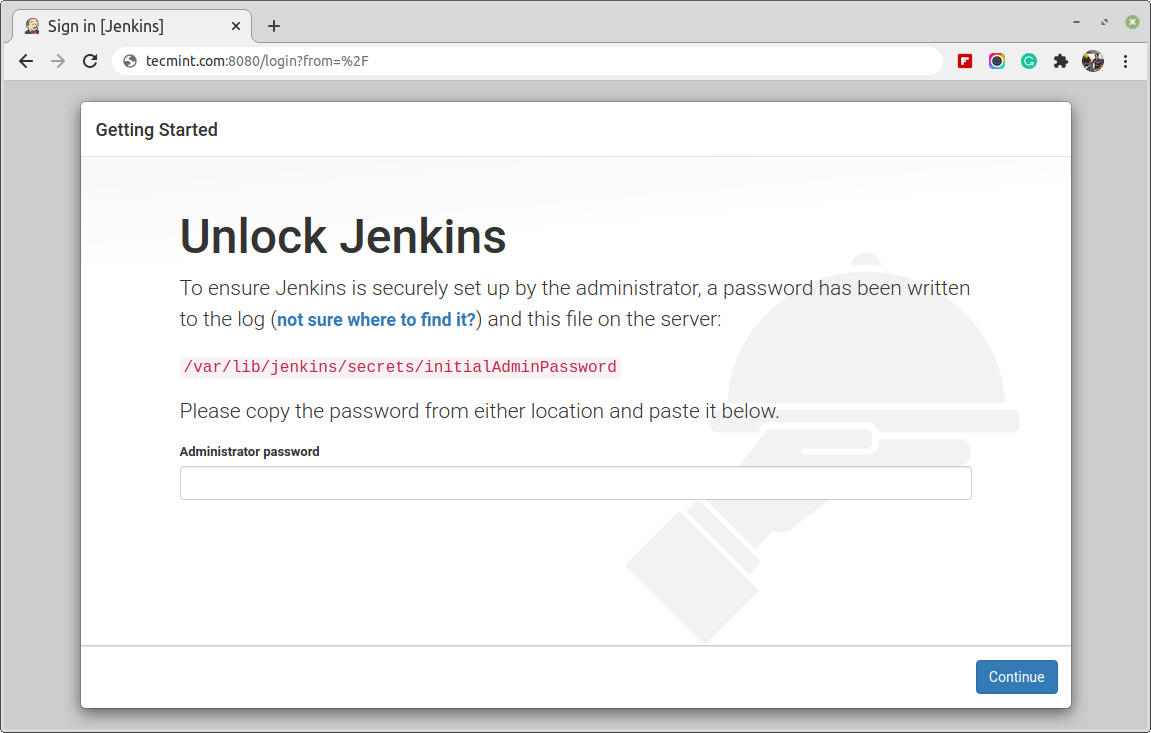
Run the following cat command to see the password:
$ sudo cat /var/lib/jenkins/secrets/initialAdminPassword

Then copy and paste this 32-character password Administrator password and then click Continue.

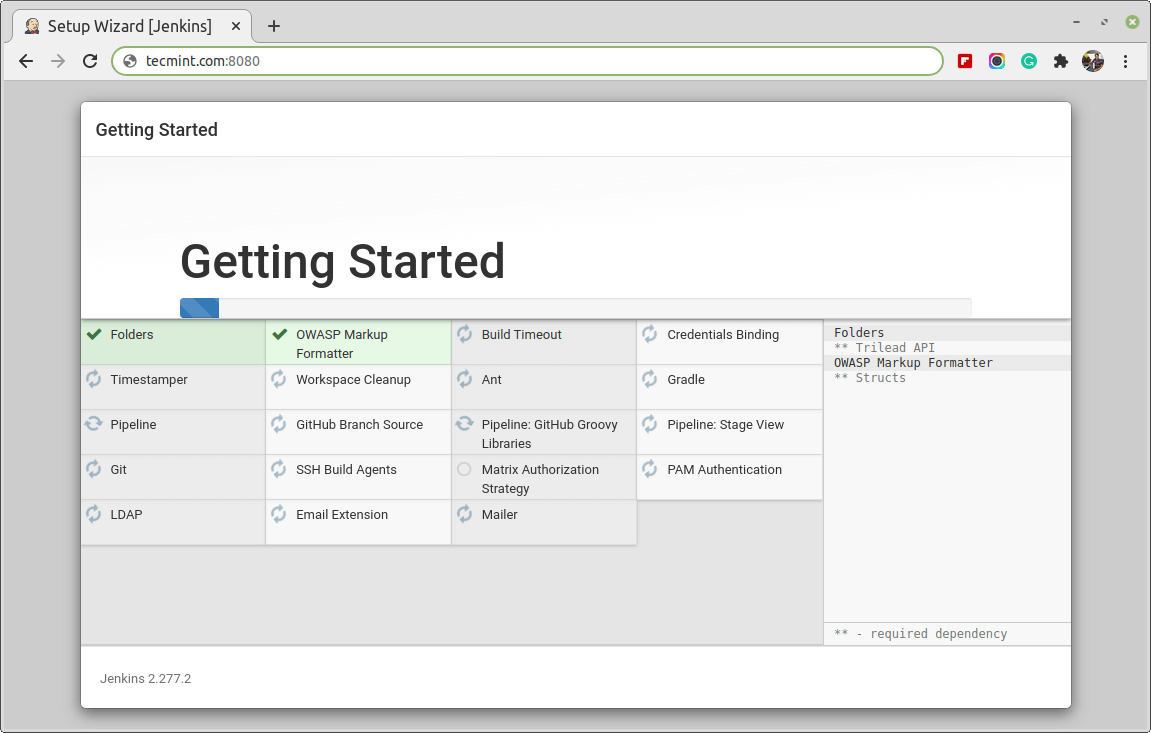
Next you get Customize Jenkins section, here you will be able to install the proposed extensions or select specific extensions. We choose Install the suggested extensions an option that starts the installation immediately.
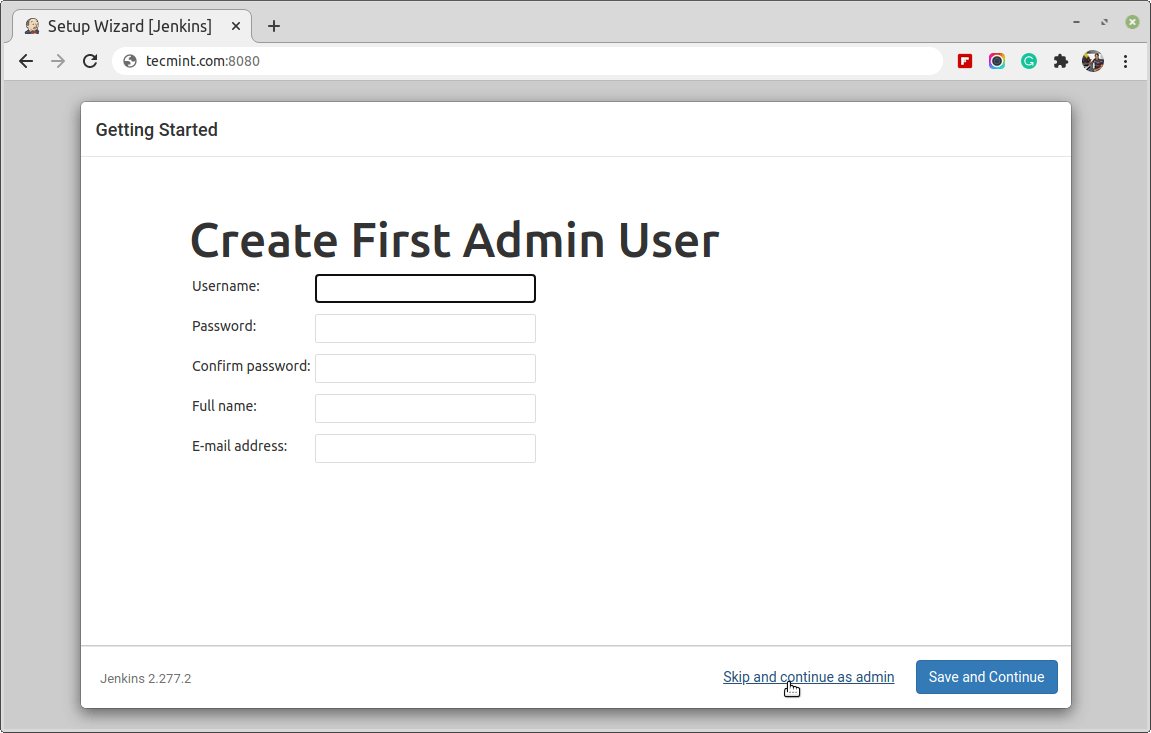
When Jenkins installation is complete, you will be prompted to create the first administrator user. You can skip this step and continue as the administrator to use the original password set above.
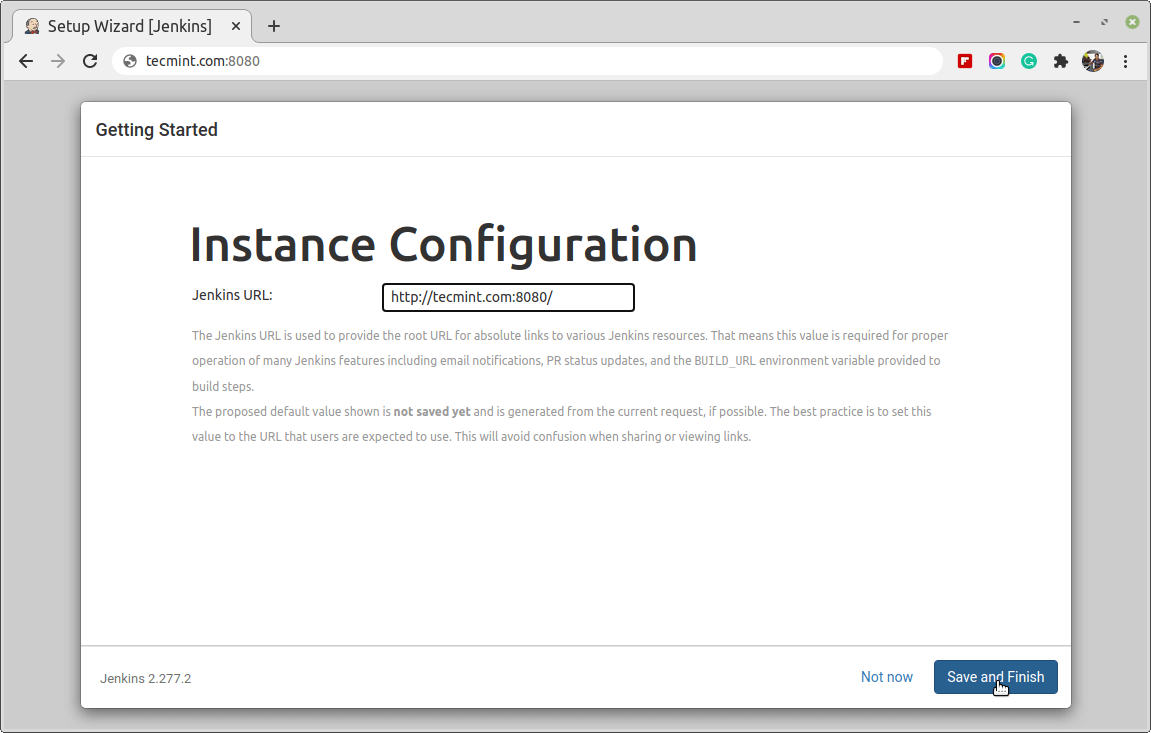
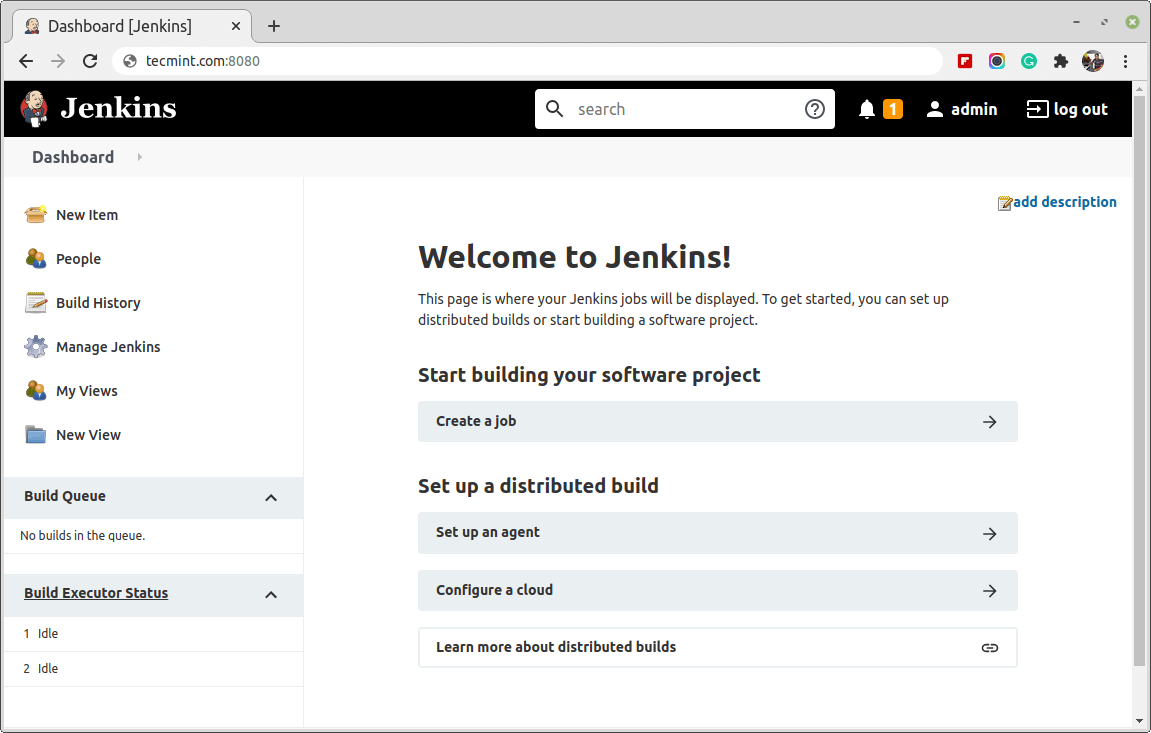
At this point, you have successfully installed the program Jenkins.
Conclusion
In this article, you have learned about installation and setup Jenkins using the packages provided by the project Ubuntu server. Now you can start researching Jenkins from the dashboard.