SQLite is light, small and independent RDBMS In the C library. Popular databases such as MySql, PostgreSQLetc. operate in a client-server model and have their own process that executes and controls all aspects of database operations.
But SQLite there is no process running and no client-server model. SQLite DB is simply a file with .sqlite3 / .sqlite / .db enlargement. Each programming language has a library that supports SQLite support.
You will find SQLite
- Web browsers (Chrome, Safari, Firefox).
- MP3 players, set-top boxes and electronic devices.
- Internet of Things (IoT).
- Android, Mac, Windows, iOS, and iPhone devices.
There are many more areas SQLite used. Every smartphone in the world has hundreds SQLite database files and has more than one trillion databases in active use. That’s a pretty huge amount.
Install SQLite on Ubuntu
Set SQLite is simple compared to other popular databases such as MySql, PostgresqlPlease update first apt cache by executing the following command.
$ sudo apt update
Now check if there are any SQLite packages available apt archive by executing the following command.
$ sudo apt-cache search sqlite
Run the following command to install the package.
$ sudo apt install sqlite3
To confirm the installation, start sqlite session by executing the following command.
$ sqlite3
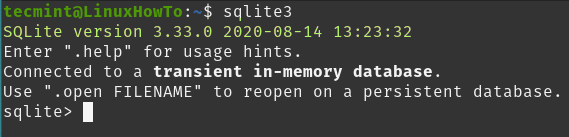
You can see from the image above SQLite 3 has been successfully installed and works with the version 3.33.0..
Create an SQLite database and table
The database is simply stored as a file on the local file system. You can create a database when you start a sqlite session by mentioning the database name as an argument. If a database is available, it opens the database unless it creates a new database.
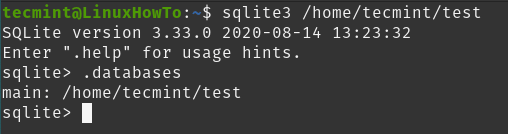
If we do not pass the database name as an argument, a temporary memory database is created which is deleted when the session is terminated. I don’t have a database here, so I create a new database by citing the DB name as an argument. Once you have connected to the session, you can complete .databases command to see which file is attached to the database.
$ sqlite3 /home/tecmint/test     # creating test db in /home/tecmint
sqlite> .databases            # To see which database session is connected
Let’s now create an example table by running the following queries.
# create table

sqlite> CREATE TABLE employee(
             Name String,
             age Int);

# Insert records

sqlite> insert into employee(Name, age)
            VALUES ('Tom',25),
            ('Mark',40),
            ('Steve',35);
You can run .tables command to list tables in the database.
sqlite> .tables                       # List tables in database
sqlite> .headers on                   # Turn on column for printing
sqlite> SELECT * FROM employee;       # Selecting record from table
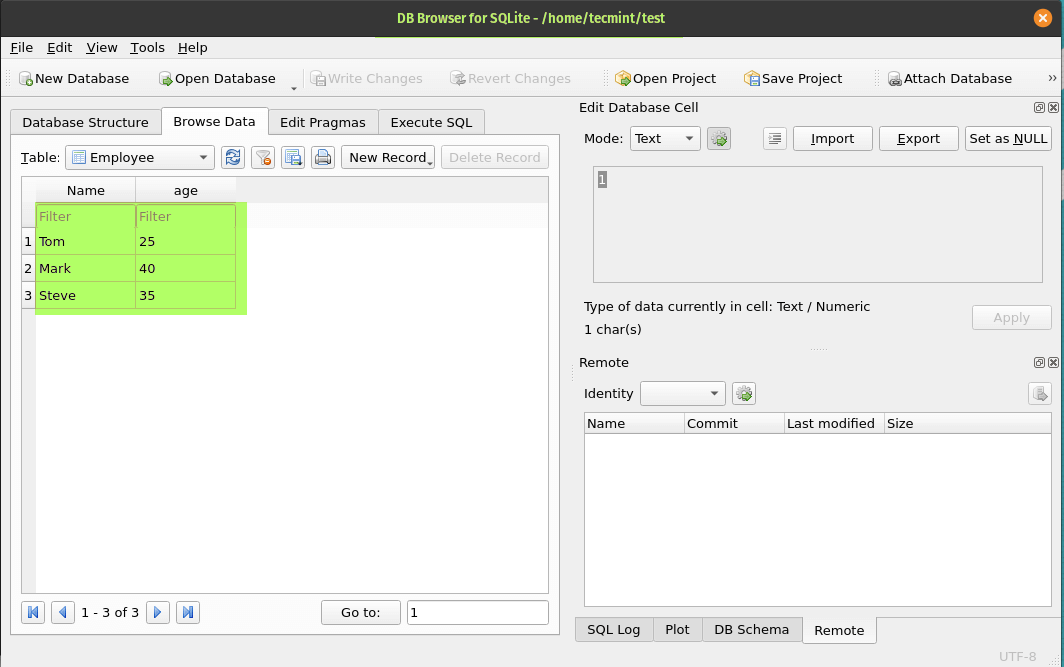
Installing SQLite Browser on Ubuntu
Now that we have seen how to install and install sqlite3 we also install sqlite browser, a simple GUI tool for managing sqlite databases.
$ sudo apt install sqlitebrowser -y
You can launch the application from the Start menu or the terminal. Start the terminal by running the following command.
$ sqlitebrowser &
Uninstall SQLite and SQLite Browser
Run the following command to delete both SQLite and SQLite browser.
$ sudo apt --purge remove sqlite3 sqlitebrowser
It is in this article. If you have feedback or tips, please post it in the comments section.
If you appreciate what we do here at TecMint, you need to consider:
TecMint is the fastest growing and most trusted community site for all kinds of Linux articles, guides, and books online. Millions of people visit TecMint! Search or browse thousands of published articles that are accessible to everyone.
If you like what you read, consider buying us coffee (or 2) as a thank you.

We are grateful for your endless support.